Run Instructions
- Run Instructions
- Overview
- GIFT Instructions
- Event Report Tool (ERT)
- Training Applications
- Character server
- Team Sessions
Overview
This document instructs how to run GIFT Tutor, the Survey Authoring System, and the Event Reporting Tool.
Instructions for each section are self-contained and assume no prior GIFT software is running. For each section of this document, if subsystems (e.g., ActiveMQ or the GIFT Monitor) have already been started, the corresponding steps should not be repeated.
GIFT Instructions
1. Complete the GIFT Installation procedures.
2. Configure GIFT (this is as needed, a default configuration is provided to you already)
The configuration options are described in the GIFT Configuration Settings document and the various authoring tool documents. Pay special attention to the following:
- Course Files
- Module Properties
- Logging Settings
- Gateway Interop Configuration Settings
- Sensor Configuration
- Learner Configuration
3. Run GIFT
Before discussing how to run GIFT, it’s important that some distinction is made between GIFT’s different deployment modes and how they will affect GIFT when it is launched.
In particular, there are 3 deployment modes that GIFT can launch with…
- Desktop
This is the default deployment mode for launching GIFT and is intended for environments where a single computer should have its own running instance of GIFT. In this mode, courses and their assets reside on your computer.
Use this mode if you also wish to have other computers connect to and take courses from a single GIFT instance when all of these computers are on the same network. More advanced setup is required to use Desktop deployment mode and take courses that required Desktop applications on computers that aren't running GIFT. In this configuration however you can run courses that are entirely web-based on computers that don't have GIFT running by using a web browser pointed to the URL of the GIFT instance. Just make sure to use the IP address in the URL and not localhost. Feel free to post questions on the GIFT forums about supporting your specific configuration.
- Experiment
This is a deployment mode intended for performing experiments with GIFT with a simplified user interface called the Experiment Webpage. Experiment mode eschews some of the features of Desktop mode to facilitate observing GIFT’s basic tutoring functionality, making it ideal for testing.
- Server
This is a deployment mode intended for environments where a single running instance of GIFT is hosted on one computer while other computers connect to it via a network connection. In this mode you will need to use the content management system that GIFT has integrated with called Nuxeo. Normally this configuration is hosted on Amazon Web Service (AWS). We can provide you copies of our vanilla AMIs so you can host your own AWS instance. For more information about GIFT in AWS start with Amazon-Web-Services-AWS-install.
When GIFT is launched, the user interface and background logic for the running GIFT instance will be modified based on the deployment mode specified. Launch differences between the 3 deployment modes will be outlined below.
- GIFT’s deployment mode can be manually changed in “GIFT/config/common.properties”. For more information, see GIFT Configuration Settings.
With a deployment mode set, GIFT can be run with the following options:
- Quick Start / Learner Mode
This is the default mode of running GIFT and is intended for anyone that doesn’t need an in-depth understanding of the GIFT architecture such as students. It presents GIFT in a streamlined and clean fashion and provides additional interaction via a Windows system tray icon.
i. Double click on “launchGIFT.bat” at the root of GIFT.
This file was created after the successful install of GIFT.
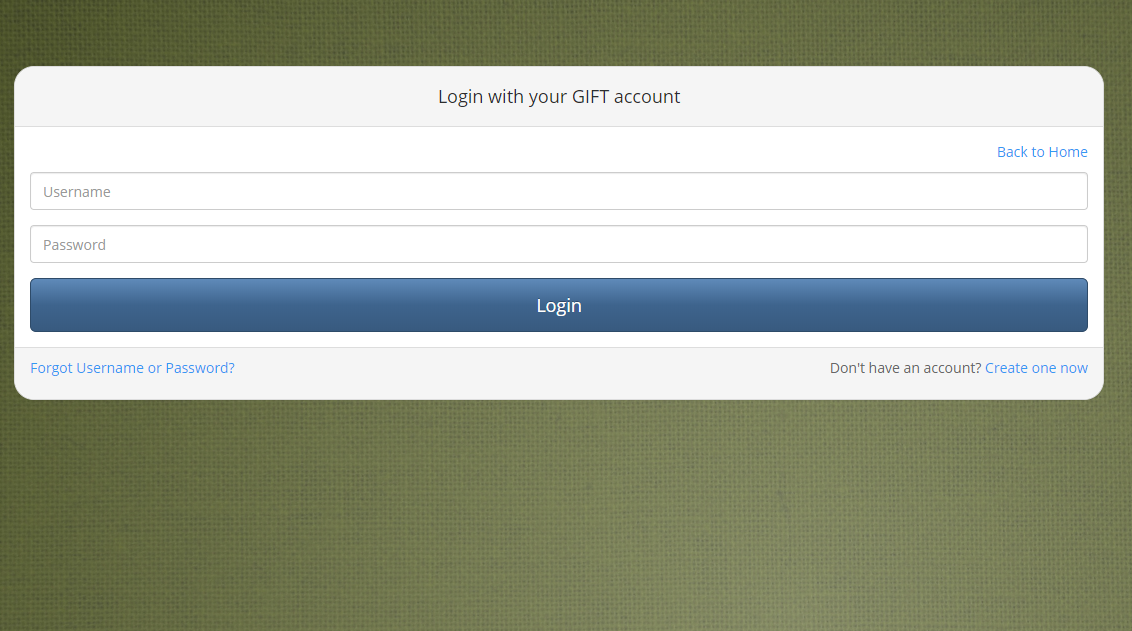
ii. After GIFT has finished loading, a login webpage will be displayed in an Internet Explorer window.
a. When running a Desktop or Server deployment of GIFT, the login page for the GIFT Dashboard will be shown.
This login page requires a user name and password to login.
b. When running an Experiment deployment of GIFT, the login for the Experiment Webpage will be shown. This
login page requires a number to login.
iii. Sign in or create a new user using the login page to begin using GIFT.
- Power User Mode
This is the mode used by software developers and researchers as it provides additional control and insight into the runtime execution of GIFT.
- Launch the GIFT control panel by clicking on “GIFT/scripts/launchControlPanel.bat”
- Launch the GIFT monitor (and ActiveMQ together) using the “Monitor” button in the “Tutor Runtime” section of the “Operator Tools” tab.
- In the GIFT monitor, navigate to the “Module Control” sub-panel by clicking on the tab labeled “Main”, and then clicking on the sub-tab labeled “Module Control”. Then click on the “Launch All Modules” button located in the center of the “Module Control” sub panel to launch all the GIFT modules. Alternatively, launch modules individually by clicking on the buttons labeled with the modules names. Wait for all modules to come online before proceeding.
- Once all modules are running, there are 2 ways to proceed:
- To run in Experiment Mode, in the GIFT monitor, click on the “Open Experiment Webpage” button to open the Experiment Webpage in the default web browser.
- To run in Experiment Mode, in the GIFT control panel, click on the “GIFT Dashboard” button in the “GIFT Browser” section to open the GIFT Dashboard in the default web browser.
- Login or create a new user using the webpage opened to begin using GIFT.
4. Shutting down the GIFT Tutor
- Terminate any active GIFT courses.
- The normal way of terminating a GIFT course (Domain Session) is to complete the course.
- If running the course in the GIFT Dashboard you can use the stop button to terminate the course.
- Press the back button on the browser and then select the appropriate button to terminate the course.
- Alternatively you can terminate a GIFT Domain Session using the GIFT Monitor. See GIFT Operator Station Instructions (Force a Domain Session to end) for more details. [Power User Mode Only]
- Log out of GIFT (applies only if you’re logged in)
- Closing GIFT
- Learner Mode
- Right click on the GIFT system tray icon located on the bottom right of your Window taskbar.
- Select Exit.
- Answer ‘Yes’ to any GIFT prompts that may appear.
- Power User Mode
- Shutdown the GIFT Modules (except for the Monitor Module). See GIFT Operator Station Instructions (Killing GIFT Modules) for more details.
- Shutdown the GIFT Monitor Module by closing the Monitor window or the Monitor’s command prompt window.
- Shutdown ActiveMQ by closing the ActiveMQ command prompt window.
- Learner Mode
Event Report Tool (ERT)
The Event Report Tool is used to create Event Reports for analysis. Events occurring during a domain session are stored in various places and formats (e.g., bookmark files, domainSession log files). The ERT is used to facilitate the selection and merging of important events from those sources. Once a report is configured, an output file can be created (e.g., csv) that can be imported into a third party tool (e.g., Excel) for further analysis.
Once running, refer to the GIFT Event Report Tool document for details on the use of the ERT.
- Launch the GIFT control panel by clicking on “GIFT/scripts/launchControlPanel.bat”.
- Click on “Event Report Tool (ERT)” button. The ERT will be show in Internet Explorer
Training Applications
GIFT has been integrated with several training applications (e.g. VBS, TC3). Here are some nuances with the training applications that the reader should be aware of:
- VBS
- Currently only VBS2 v1.4 and VBS3 v3.9.2 is fully supported with GIFT.
- GIFT requires that you run the GIFT VBS shortcut as mentioned in the GIFT Install Instructions.
- VBS must be running before starting a GIFT course that contains a reference to a VBS scenario. This is because GIFT uses various means to auto-load the VBS scenario when appropriate.
- TC3 (aka vMedic)
- Currently only the GIFT version of TC3 is fully supported with GIFT.
- TC3 must be running before starting a GIFT course that contains a reference to a TC3 scenario. This is because GIFT uses various means to auto-load the TC3 scenario when appropriate.
- Powerpoint
- Currently PowerPoint 2007 and 2010 are fully supported with GIFT.
- PowerPoint doesn’t have to be running in order have GIFT launch PowerPoint shows.
- If PowerPoint is not running prior to GIFT executing a PowerPoint show, GIFT will close the PowerPoint application at the end of the show that GIFT launched.
- VR Engage
- Currently VR Engage version 1.5-IPB3 is supported with GIFT.
- VR Engage must be running with the scenario loaded before GIFT real time assessments can take place.
Character server
There are two character servers that GIFT has been integrated with, Virtual Human (recommended) and Media Semantics.
Refer to Character server install instructions.
Team Sessions
This sections describes how we currently configure to execute a team knowledge session with more than one learner at a time. The set of learners are running the same GIFT course from a single GIFT instance. Each learner has a web-browser and a training application on their computer. Each learner computer can communicate to the other over the network (i.e. all necessary ports are open appropriately). The GIFT instance will run on the computer that will host the team knowledge session and the training application network scenario.
In this particular example, we will use VBS as the training application.
Configure GIFT to host other learners
By default a local instance of GIFT is configured to support the same computer that GIFT is running on. To allow other computers to use that same GIFT instance, you will need to change a few configuration paramters.
1. open GIFT\config\common.properties for editing
2. change the TutorURL property from 'localhost' to your IP address. The IP address must be one that the other computers can see (e.g. ping).
3. change the GiftAdminServerUrl property from 'localhost' to your IP address. The IP address must be one that the other computers can see (e.g. ping).
Example with VBS
1. On the host machine, double click the “GIFTVBSGame” desktop shortcut to start VBS
a. minimize after loading
2. On the host machine, double click the “launchGIFT.bat” file located in the root folder of the local instance of GIFT you are using
a. It is only necessary to double click this launch ONCE; the loading screen may take up to 5 minutes to appear but double clicking the launch more than once will cause GIFT to crash.
3. Enter your username and password and click “Login”
4. On the joiner machine(s), enter the exact same TutorURL (located at the top of the webpage; looks like: http://172.20.10.14:8080/dashboard/#takeacourse) into an internet browser and hit the Enter key on the keyboard. This should bring you to the GIFT login screen that you just saw on the host machine.
a. Enter a unique username and password on each machine.
5. On the tablet, repeat step 4*
a. The login information used for the tablet can be the same as one of the machines if necessary.
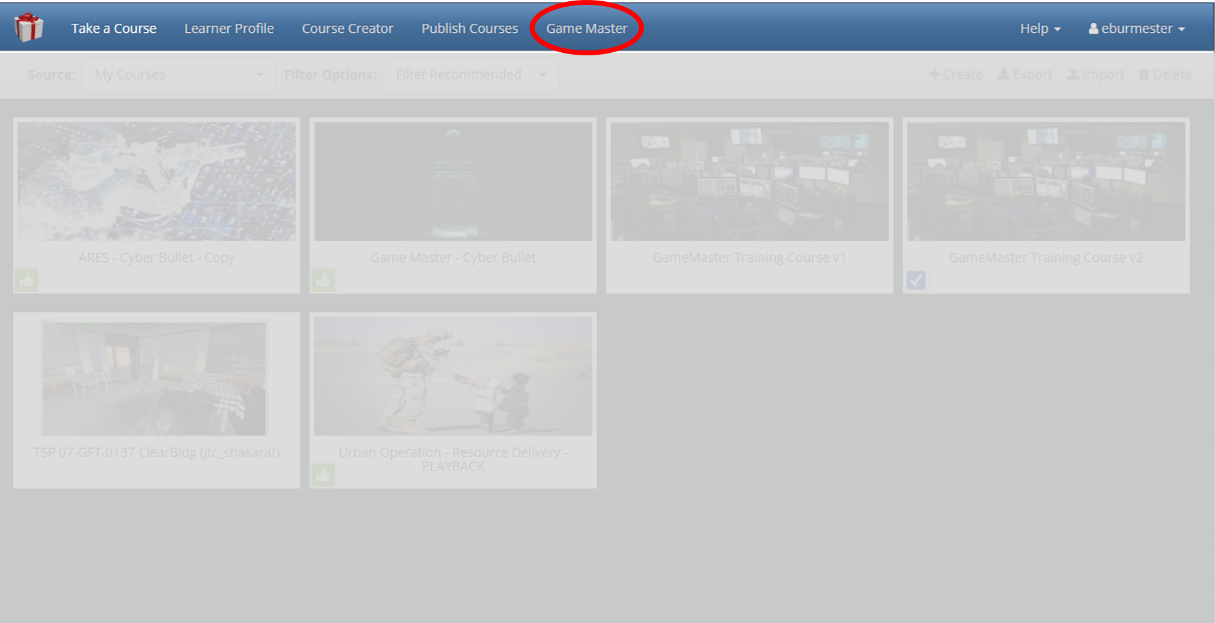
6. On the tablet, click on the “Game Master” tab*
7. On the host machine, hover over the {insert your course name here} course tile and click “Take Course”
8. On the joiner machine(s), hover over the {insert your course name here} course tile and click “Take Course”
9. On the host machines’ Multiplayer Team Session page, click “HOST”
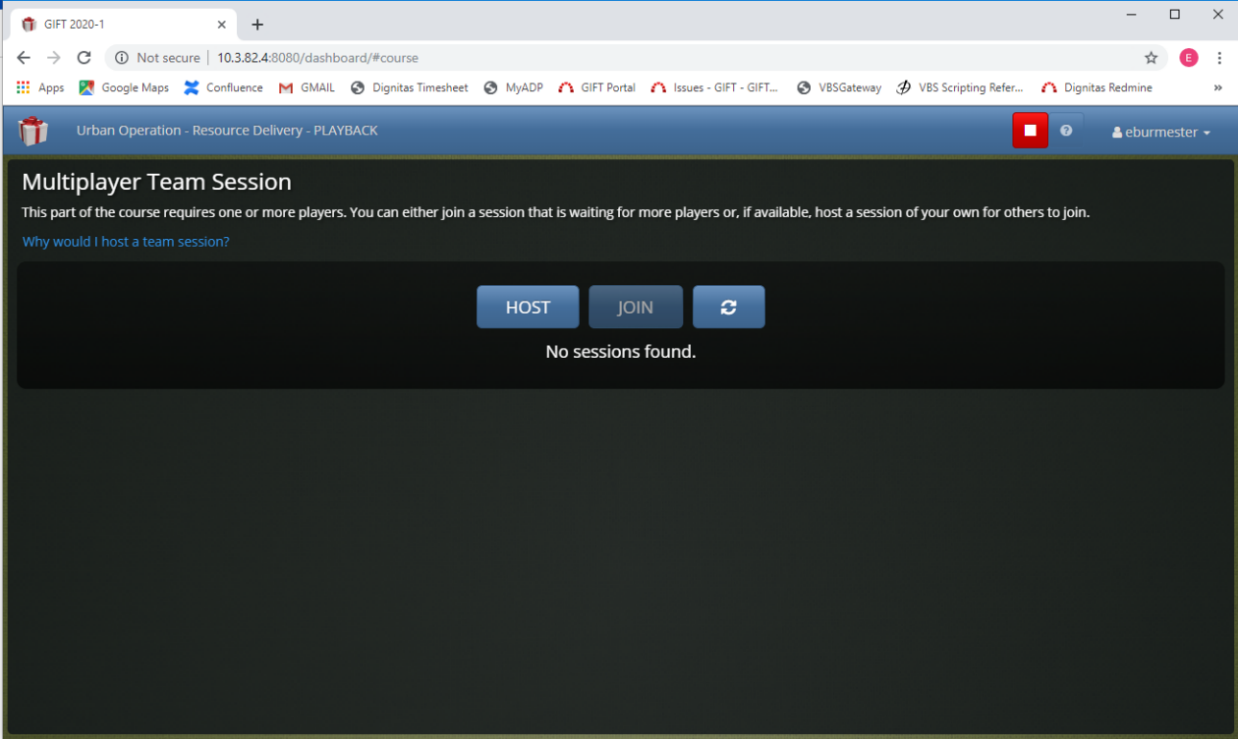
10. On the joiner machines Multiplayer Team Session page, select the session that’s being hosted, then click “JOIN”
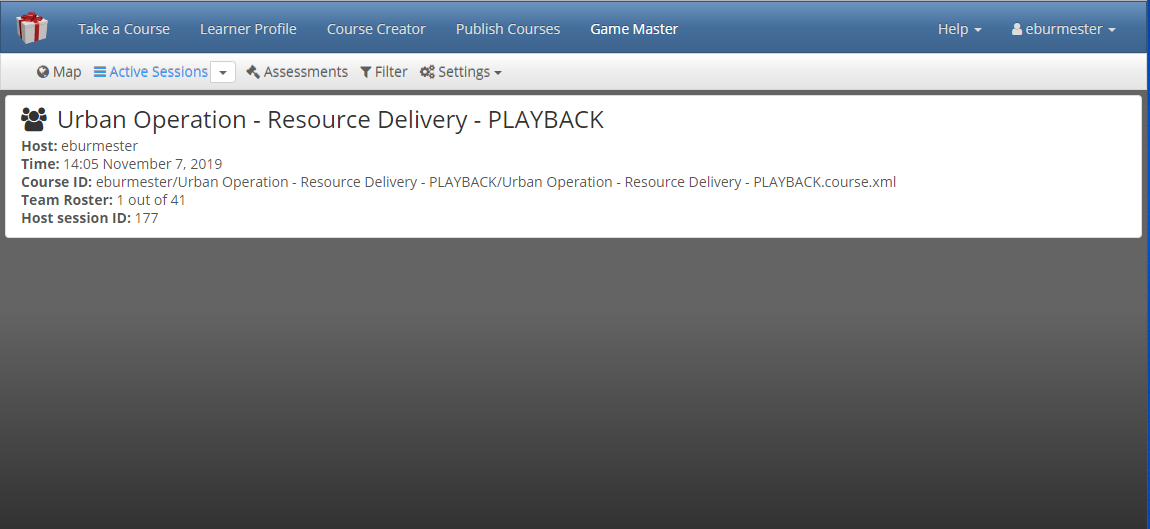
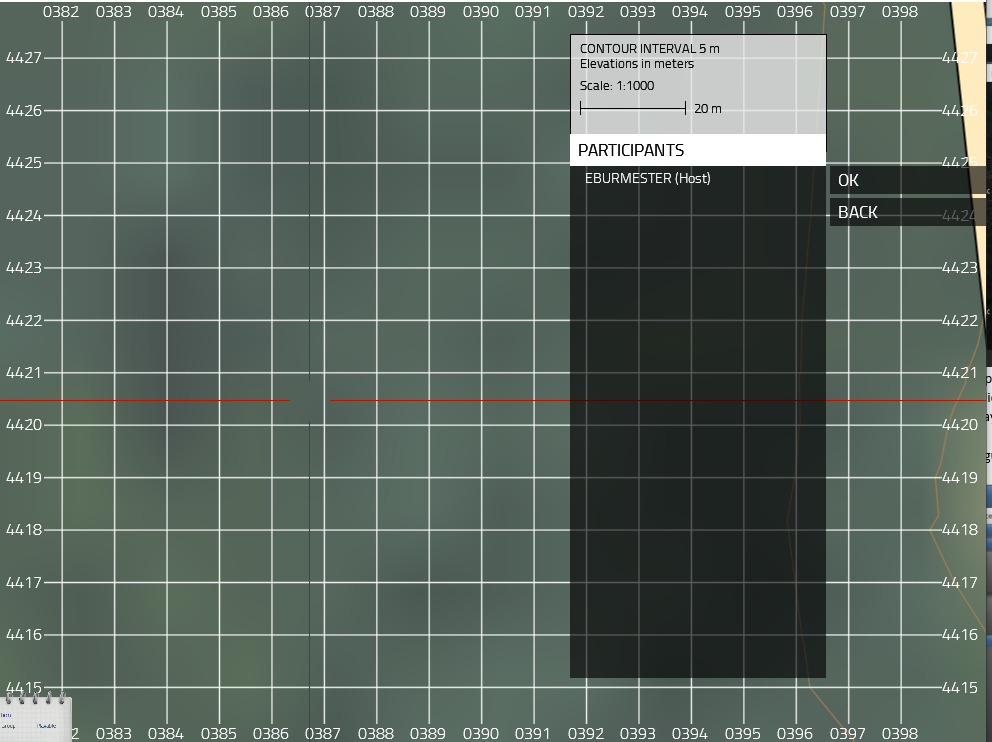
11. On the tablet, you should now see an active session now available*
a. Click on the session box (similar to the image below) to open it
12. On each machine, select the appropriate role for the assigned team member.

13. On the host machine, after all players have been selected, click “Start Session”
14. On the host machine, VBS should automatically open to the Networking Lobby
15. The joiner machine(s) will have to manually bring VBS to the foreground
a. From the Main Menu, click Networking
b. Then double click on the session being hosted by the host machine (DO NOT CLICK “Host Session”)
c. this should bring you into the same lobby as the host
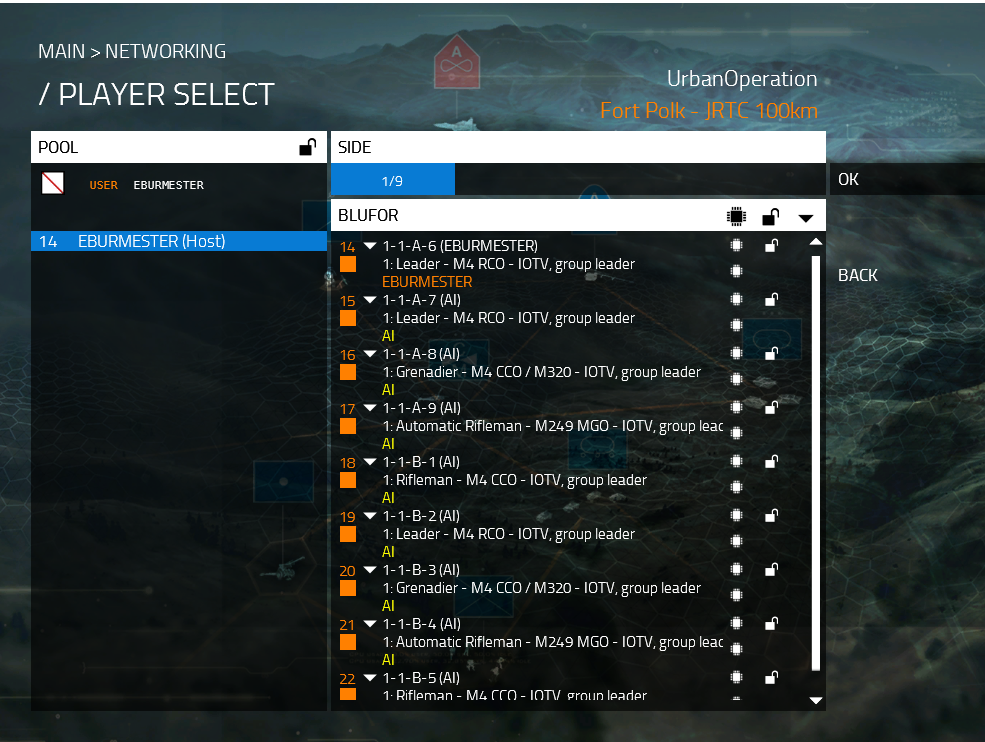
16. On the host machine, after all players have populated the correct positions, click “OK”
17. On the host machine, click “OK” on the following screen once all players have loaded
18. The course has now begun and the tablet should now be showing active assessments (similar to picture below)*

*If you do not have a tablet, these steps can also be done in a web browser on any computer